Integration
Technical Action Items for Integrating with BitPay
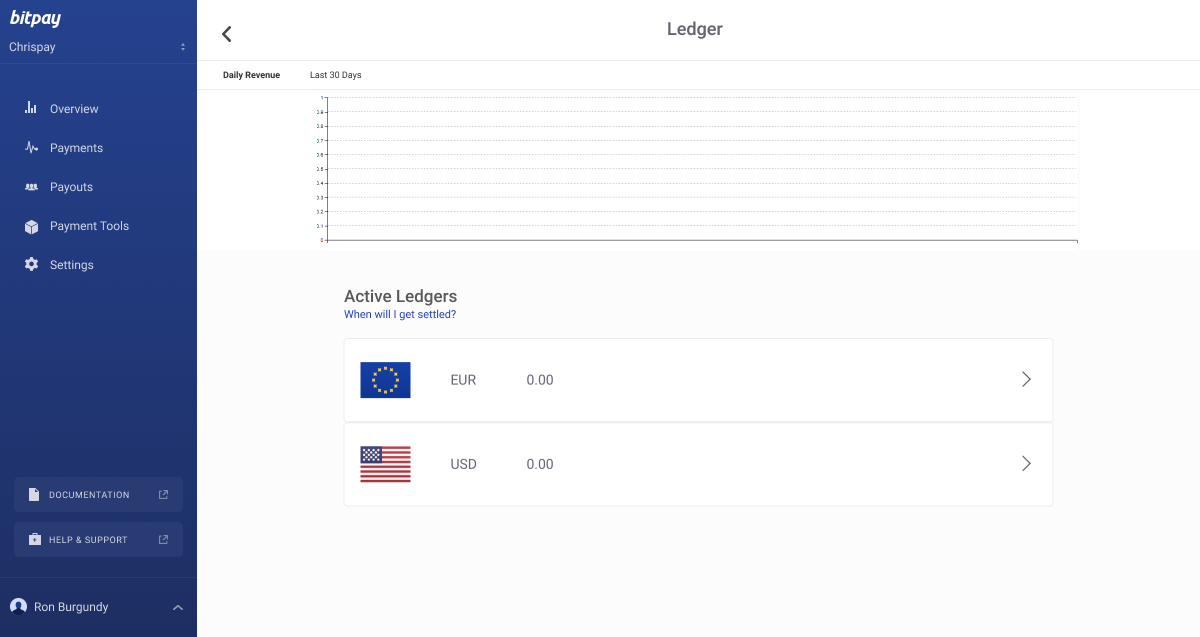
Merchant Account Overview
Your Merchant Account is essentially the “home base” for managing your partnership with BitPay. You will be able to use your dashboard to view or download payment activity, manage settlements and ledgers, issue refunds, generate payment invoices, and more.
Steps to Get Started
- Read compliance documentation
- Determine how you want to integrate (online, in-store, payouts, billing)
- Sign up and get approved
- Set up settlement preferences
- Set up a test environment (optional)
Step 1. Review compliance section
Please review the compliance section of this guide before setting up your account. Our compliance team may reach out to you if there are any problems with your application.
Step 2. Determine how you would like to integrate with BitPay
Online Payments
Our plugins with major ecommerce hosts will allow you to quickly and easily add BitPay as a payment option on your existing website if you use one of these providers. Navigate to the plugin relevant to you for instructions on how to get set up.
Under the “Payment Tools” section of your merchant dashboard, you can quickly generate a payment button to add to your existing website. BitPay generates the code for the button for you, which you can add to your site. Functionality is limited here, but implementation can be quick and easy.
We highly recommend you make use of our code libraries.
As your review our API docs, please make special note of the following items:
- Identities / Authentication - BitPay’s API has a unique protocol called Bitauth that mirrors the technology used by Bitcoin. We highly recommend the use of our code libraries to ease this process for your developers. Note that the Bitauth signing process is not needed for API calls using the "pos" facade.
- Facades - this concept controls the level of access you will have for an API call. For simple integrations, you may only need to make use of the “pos” facade. More complex integrations will likely require the “merchant” facade.
In-Person Payments - Quick Checkout for Web URL
This solution allows you to quickly and easily enable your store associates to accept cryptocurrency payments.
Example: In your merchant dashboard, navigate to the “Payment Tools” window, then click “Quick Checkout for Web.” You will be presented with some basic customization options for this experience. Click the “Quick Checkout for Web” link. The URL you have been directed to (it should look something like this: https://bitpay.com/m/123456/checkout) can be saved to a mobile device like an iPad. Simply open this URL on the device in-store to quickly generate an invoice for customers to pay.
Payouts
BitPay refers to the ability to send cryptocurrency outbound as “Payouts.” This functionality must be enabled on your account by BitPay, so please contact us if you would like to have it enabled.
The recipient of your payout will be required to complete a one-time AML/KYC process called BitPay ID. More information on this process is in the Compliance section of this document.
Payouts are financed from your BitPay ledger. If you use BitPay for inbound cryptocurrency payments, you can use funds held in your ledger from inbound payments to finance payouts. Or, you can send fiat currency to BitPay's bank account to finance your payout.
Donations
This option is very similar to "Payment Buttons" listed under the Online Payments section, but is only available for accounts configured as non-profit.
Non-profit accounts also have the option to set up a BitPay hosted donation page, which can be configured in your merchant dashboard.
Check out our pre-written sample code here. You can use this as a starting point to get a customized donation page up and running quickly.
Billing
Email Billing is a simple tool you can use to send a one-time or recurring invoice to a customer. You can do this through your BitPay merchant dashboard under the “Payment Tools” window. Click “Email Billing,” then in the top-right corner “New Bill.” Note the delivery options here. If you elect to “Send Bill via Email” you will not have any control over the branding, formatting, etc. on the email that is sent to the customer. If you would prefer to craft your own email, you can use the “Share Bill via URL” delivery option and paste the generated URL into your email to send to the customer.
Step 3. Sign Up and Get Approved
You will need to get registered for an account before you can begin accepting payments or sending payouts, so this is a good place to start. Also, take into consideration that your production account will need to be approved by BitPay compliance, which can take some time (typically about 5-7 business days). You can provide access to multiple users and control the access level of each individual user.
Step 4. Set up Settlement Settings
BitPay will settle your funds to you on a daily basis. Most merchants choose to have funds deposited into their bank accounts in fiat currency, but you can also settle in cryptocurrency, or customizable percentages of both.
See this page for more information on settlements.
Step 5. Set up a Test Environment (optional)
You can set up a test merchant account in minutes, as it requires no KYC validation. This is a good way to familiarize yourself with BitPay's functionality. Unlike in production, settlement bank details are pre-filled in the test environment.
- In the test environment, you are able to simulate payments rather than sending a testnet blockchain payment. This can be done using our API (see the status parameter here) or manually in the payment UI on the final payment screen using the "simulate payment" button.
- If you would like to utilize testnet blockchains for testing, you will be able to do so in the BitPay test environment. Not that supply of testnet cryptocurrency is often limited, so we recommend keeping transaction values low.
- If you are working on an API integration, please use test only for basic proof of concept validation. Once API calls are working properly, we recommend moving to production for more robust testing.
- More information on testing available here
Updated about 2 months ago