Signing API Calls
Calls to BitPay's API that use our "merchant" or "payout" facades must be cryptographically signed. This guide provides an explanation for how to set up your application to properly sign requests.
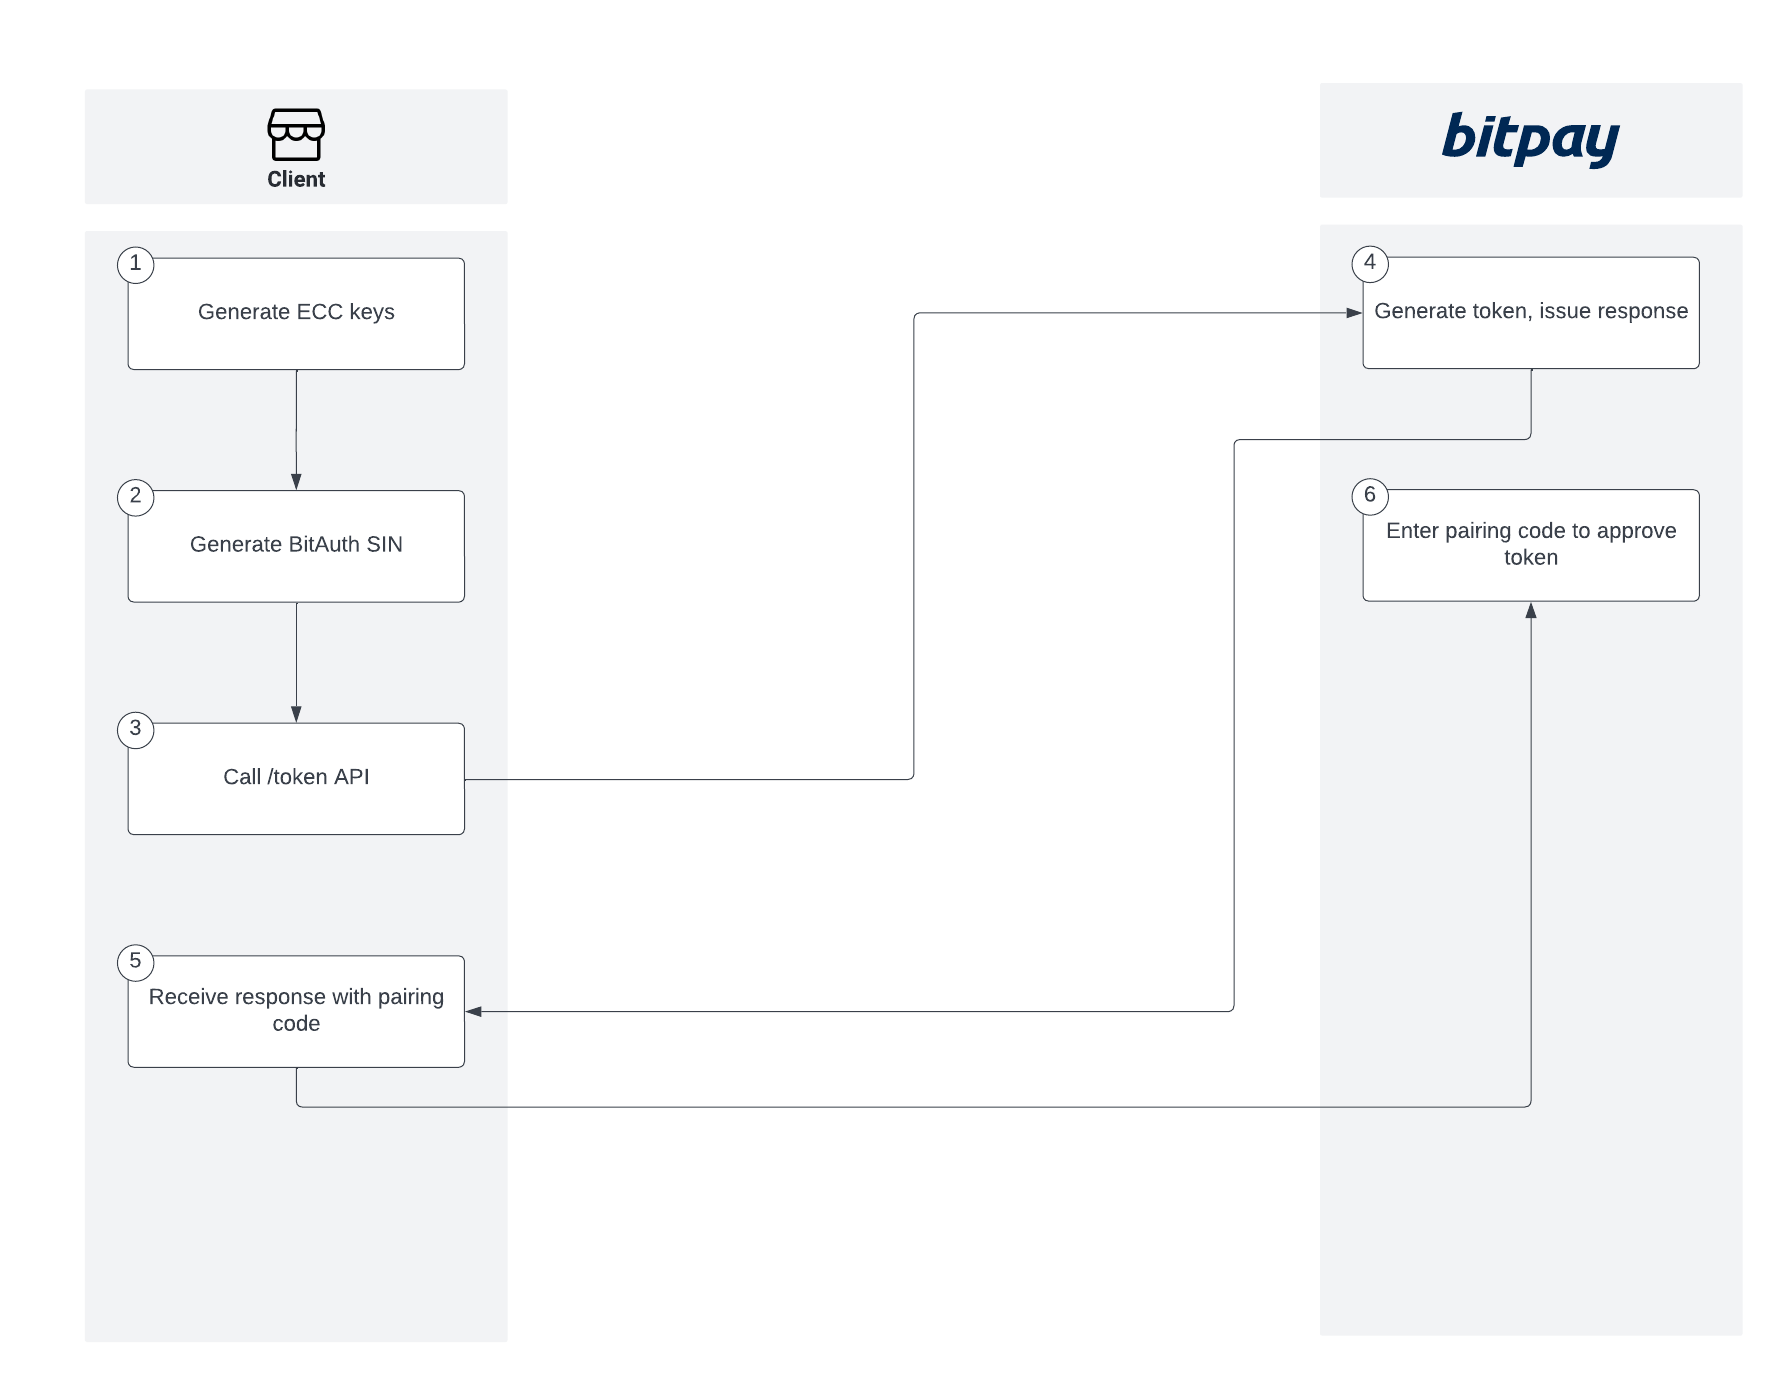
Token Flow
Overview
This document walks through the various steps of generating keys for usage in the APIs to provide foundational knowledge whether you will use the prebuilt SDKs or not. If you choose not to use the prebuilt SDKs, you could import the language-specific key util to your project and implement your own API calls.
If you do prefer to use the pre-built SDKs, each SDK has a command-line setup utility that will generate keys as well as a configuration. The configuration file is almost identical across all SDKs and has the following JSON structure:
{
  "BitPayConfiguration": {
    "Environment": "",
    "EnvConfig": {
      "Test": {
        "PrivateKeyPath": "",
        "PrivateKey": "",
        "ApiTokens": {
          "merchant": "",
          "payout": ""
        }
      },
      "Prod": {
        "PrivateKeyPath": "",
        "PrivateKey": "",
        "ApiTokens": {
          "merchant": "",
          "payout": ""
        }
      }
    }
  }
}
In each EnvConfig, you can load your private key in one of two ways:
| PrivateKeyPath | Use this to reference a physical key file. |
|---|---|
| PrivateKey | Use this to use a string. |
It is imperative that security be taken into account when storing your private key. BitPay strongly advises using a secrets manager or other encryption mechanism such as Mozilla SOPS. Examples of secrets managers are:
- AWS Secrets Manager
- Azure Key Vault
- GCP Secret Manager
- Hashicorp Vault
Key Utilities
BitPay has a key utility repository for most supported languages, with implementation and examples of key generation implementation and usage:
| Language | Key Utils |
|---|---|
| C# | https://github.com/bitpay/csharp-key-utils |
| Java | Bundled version: https://github.com/bitpay/java-bitpay-client/blob/master/src/main/java/com/bitpay/sdk/util/KeyUtils.java Separate version (archived, deprecated): https://github.com/bitpay/java-key-utils |
| Node.js | https://github.com/bitpay/nodejs-bitpay-client/blob/master/src/util/KeyUtils.ts |
| PHP | https://github.com/bitpay/bitpay-php-keyutils |
Generate Private Key
First, you’ll need to create your token if you haven’t already. See the notes at the top of this document regarding storage.
| Language | Private Key Implementation |
|---|---|
| C# | Uses existing libraries. |
| Java | Uses existing libraries. |
| Node.js | Uses existing libraries. |
| PHP | https://github.com/bitpay/bitpay-php-keyutils/blob/master/src/BitPayKeyUtils/KeyHelper/PrivateKey.php |
Generate Public Key
Once you have a private key, you will need to generate a public key.
| Language | Public Key Implementation |
|---|---|
| C# | Uses existing libraries. |
| Java | Uses existing libraries. |
| Node.js | Uses existing libraries. |
| PHP | https://github.com/bitpay/bitpay-php-keyutils/blob/master/src/BitPayKeyUtils/KeyHelper/PrivateKey.php |
Get SIN from Public Key
Once we have a public key, we’ll be able to generate the SIN
| Language | Public Key Implementation |
|---|---|
| C# | Uses existing libraries. |
| Java | Uses existing libraries. |
| Node.js | Uses existing libraries. |
| PHP | https://github.com/bitpay/bitpay-php-keyutils/blob/master/src/BitPayKeyUtils/KeyHelper/SinKey.php |
Generate x-identity Header
Use the public key to generate a hex string that can be used as the x-identity header.
Generate x-signature Header
Use the private key to sign the concatenated resource URL and JSON-encoded POST body.
Request: Generate Token
You’ll now have everything needed to call the /token endpoint to generate a token. The process is the same for all languages:
- Create cURL call
- Headers
x-accept-version: 2.0.0Content-Type: application/jsonx-identity: See abovex-signature: See above
- Body (JSON-encoded)
- id = SIN
- facade = Name of facade, such as merchant
- label = (Optional) label you want to call the token
- Headers
{
    "id": "Tf3qJ2Upet2cPnAMNJxa7k5JZvLPE93hhf7",
    "label": "My first token",
    "facade": "merchant"
}
Enter Pairing Code to Approve Token
| Step | Screenshot |
|---|---|
| Log into your test or live account | 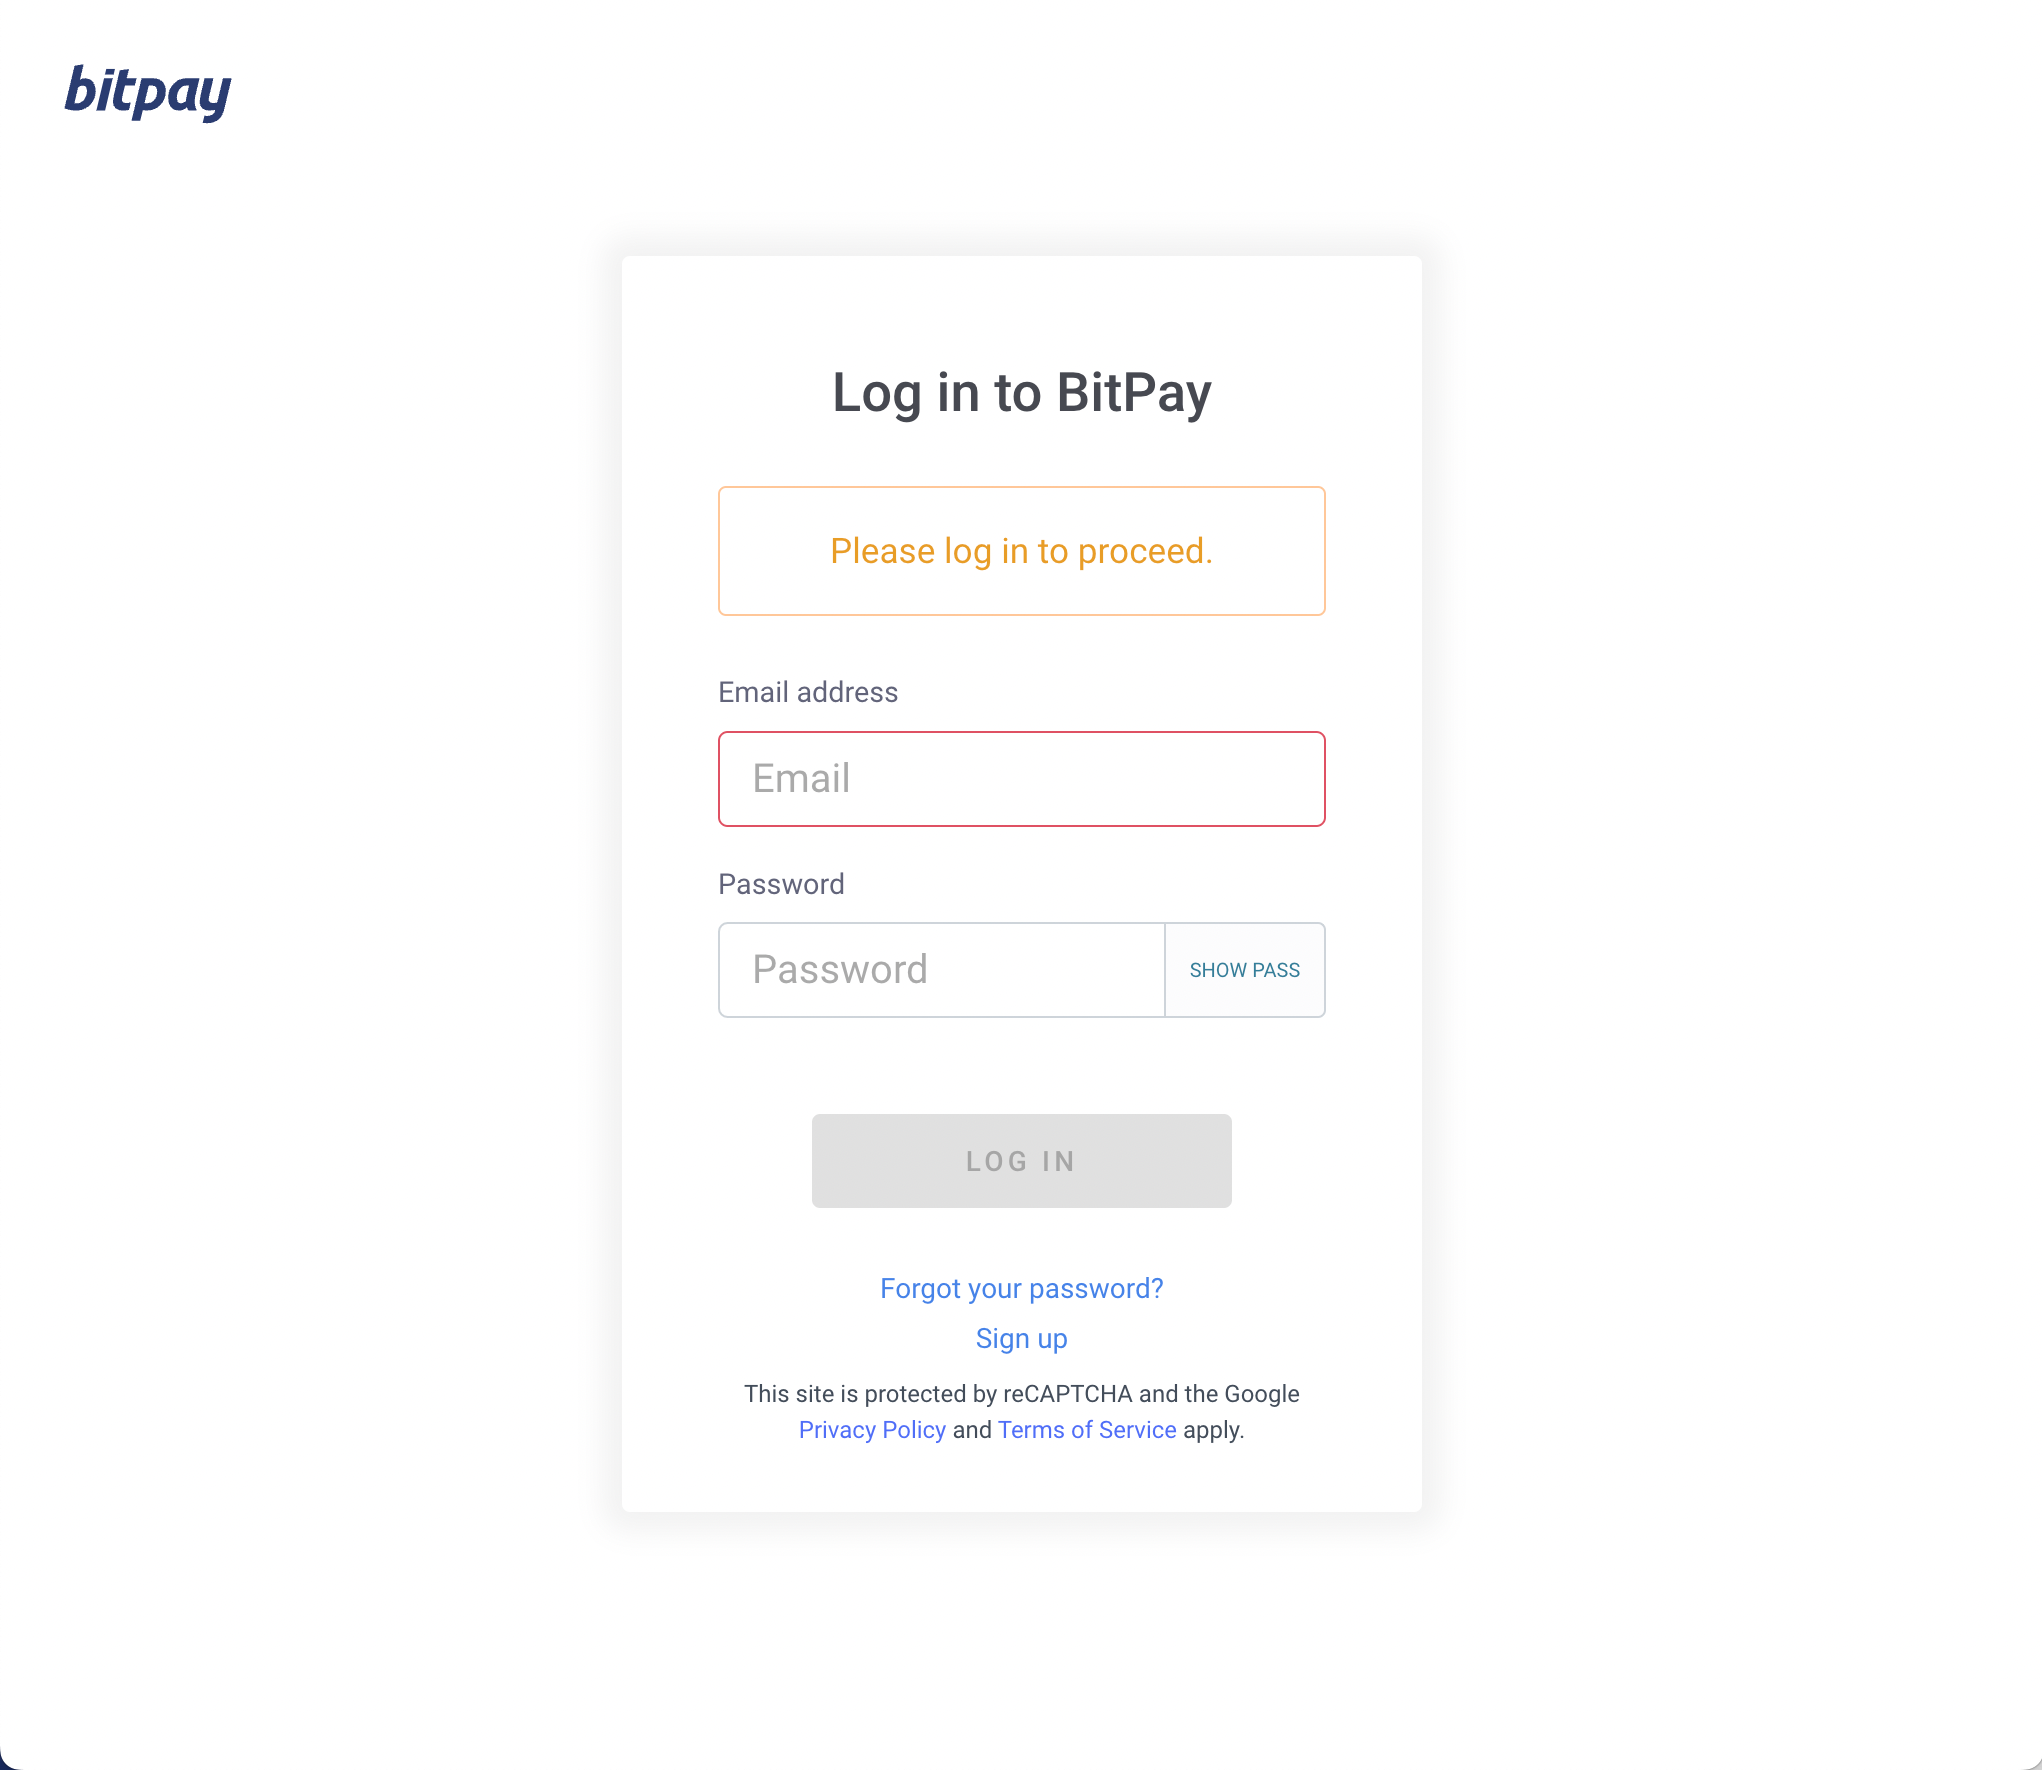 |
| Go to Payment Tools > API Tokens | 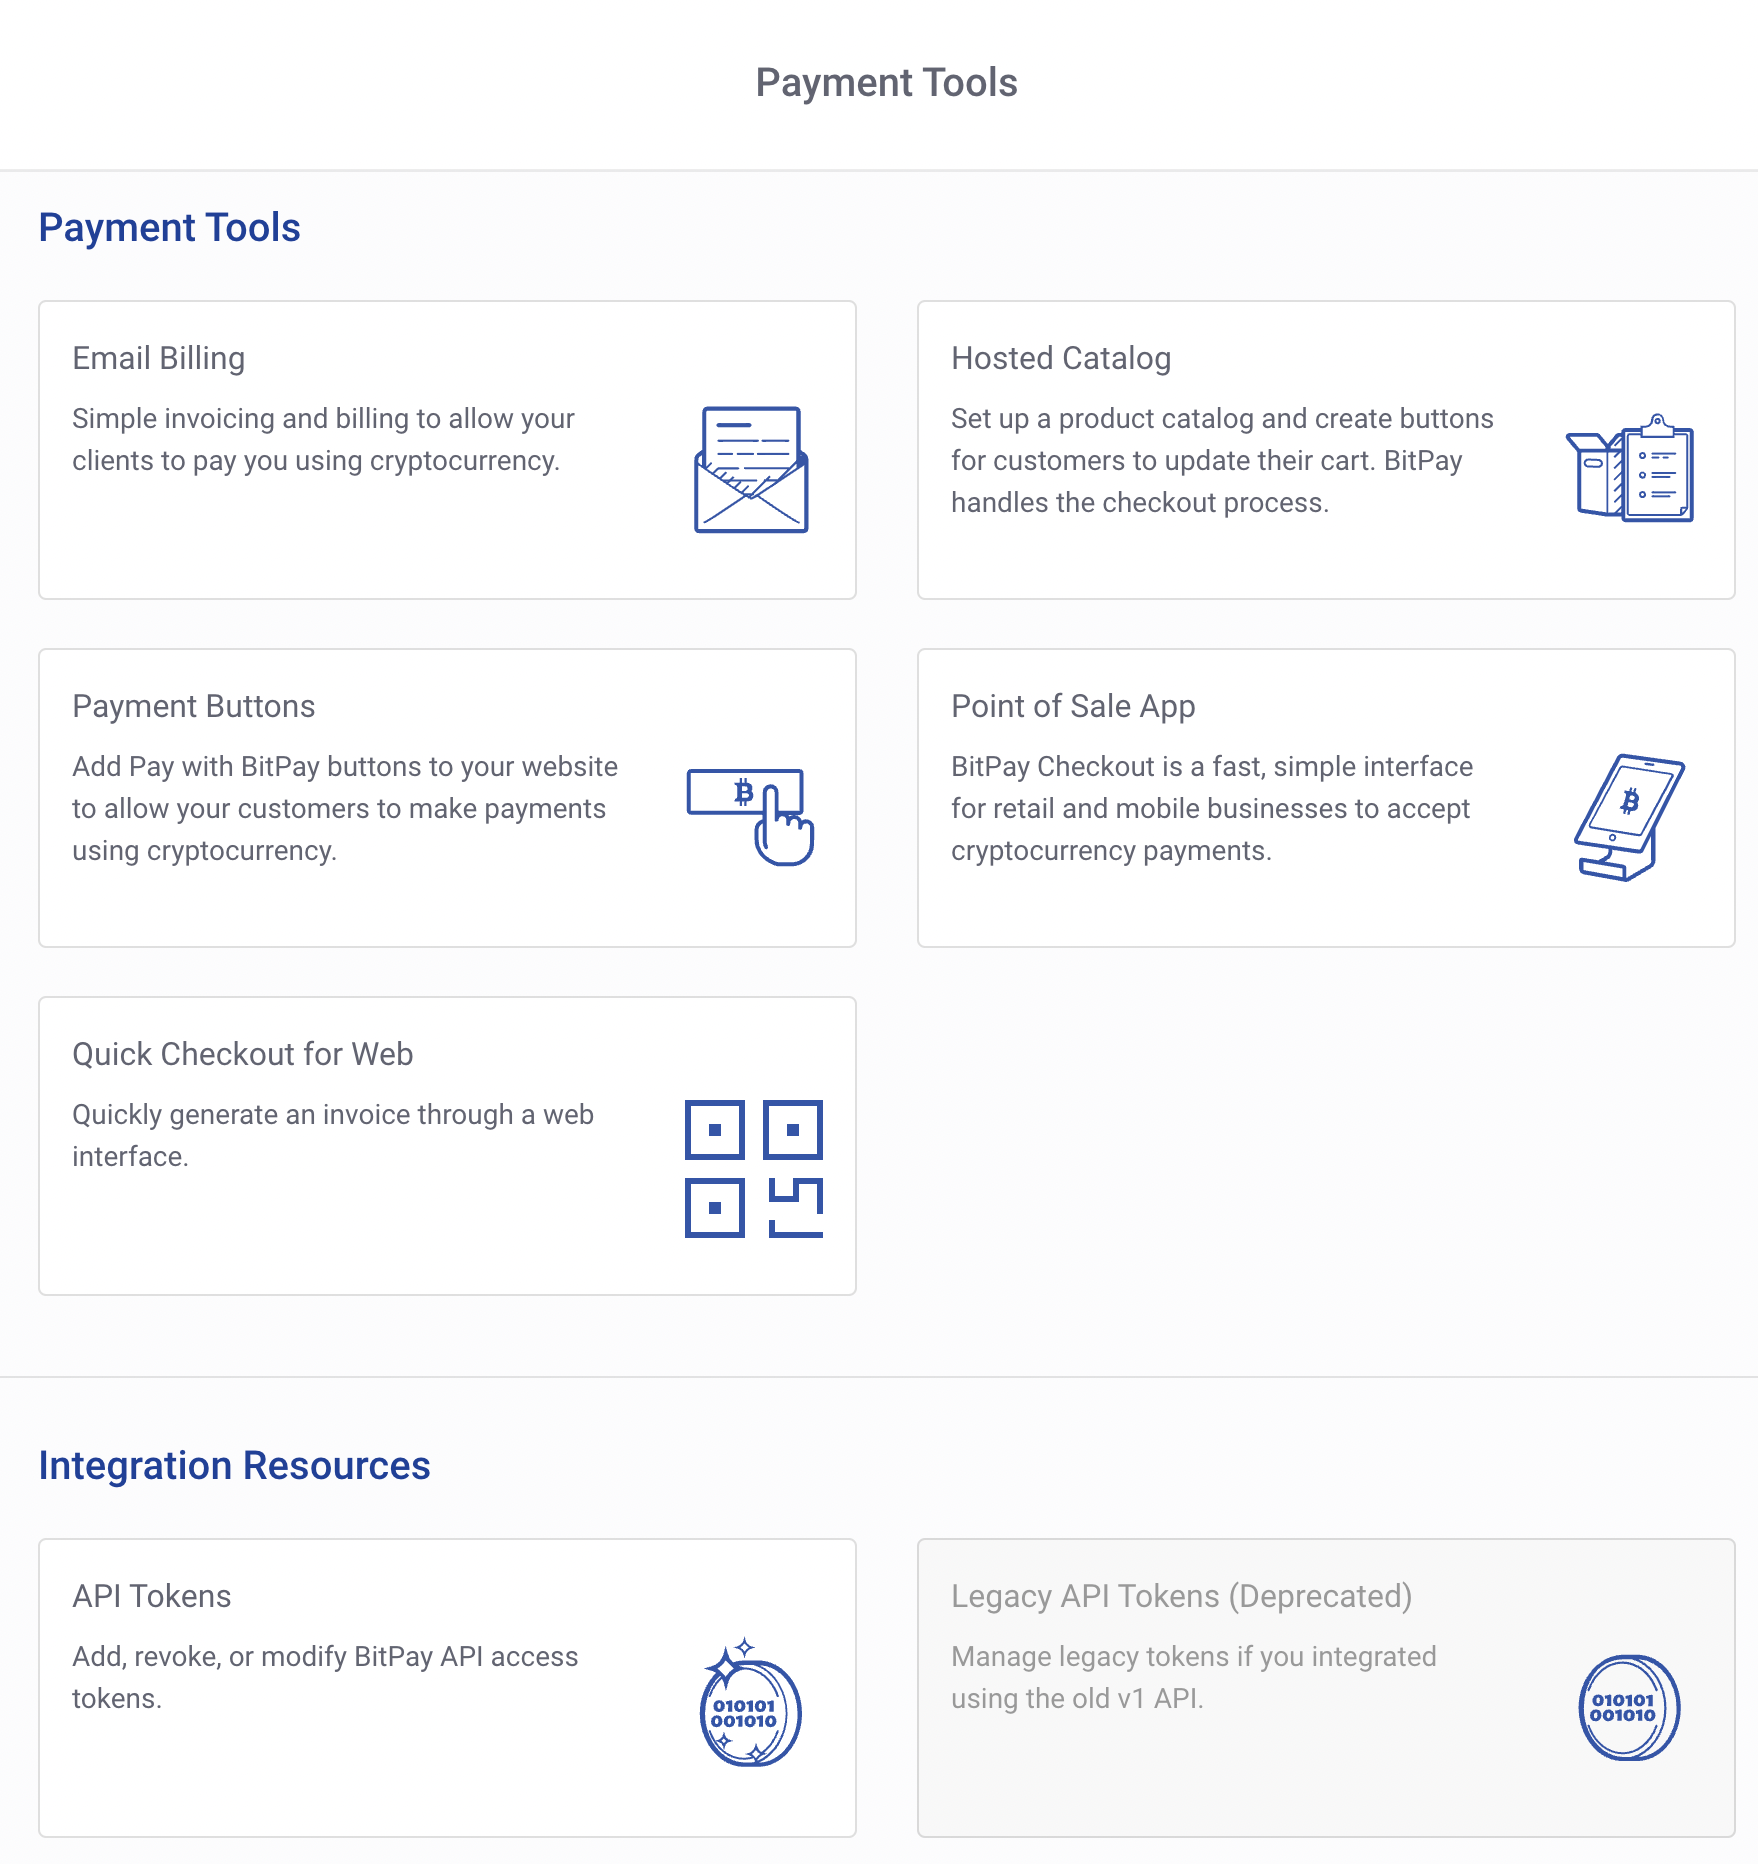 |
| Enter your pairing code from the response of your token request | 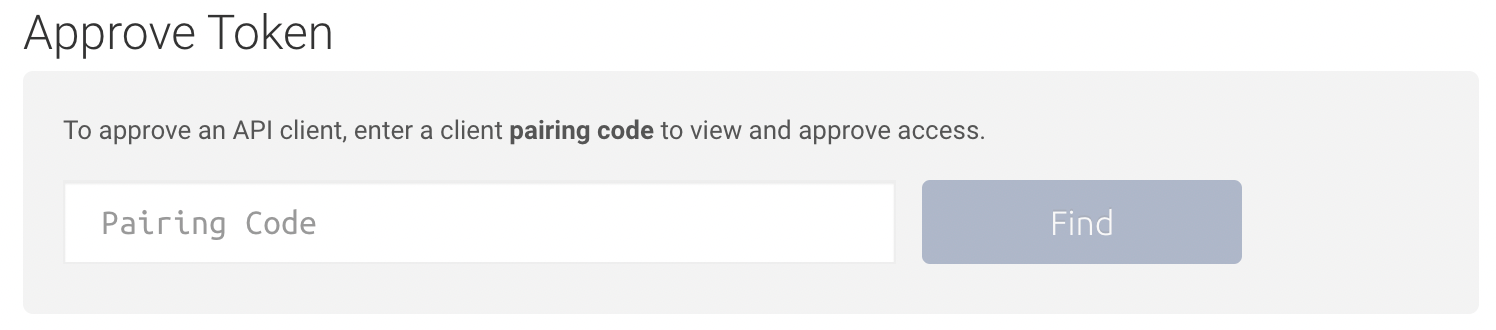 |
Add a label if desired as well as your two-factor code Note: The token in the screenshot is just an example in the test environment, and has not been approved. |
 |
Updated 5 months ago